

Homebrewing is the roots that the current craft beer explosion has grown from. Driven by the need to create a different beer experience from what was previously offered. Driven by the need to bring beer back to your neighborhood. Driven by the need to be creative on your terms. Bringing beer from what was just a social tool into a culture of flavor experiences.
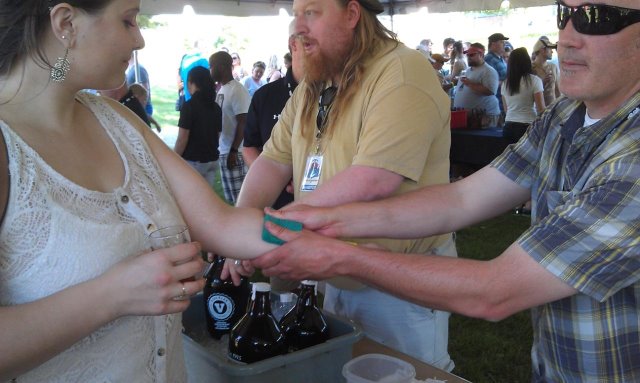
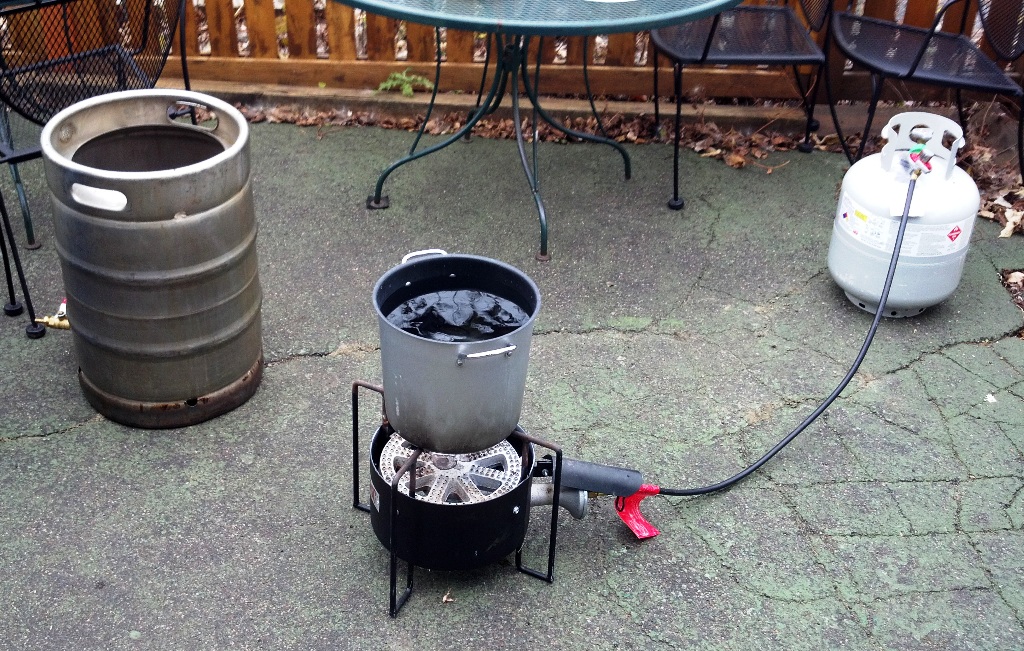
The AHA, in lines with National Homebrew Day (May 7th), support and organize Big Brew. This will be the second year for me to attend a Big Brew event. Its a way to get homebrewers together and showcase the varied skills and tools of the homebrew nation. I take this as a learning opportunity. Or perhaps it is an opportunity to perpetuate my sickness. Whatever it may be, it is a great way to see the process of making your own beer. From entry level extract to full all grain multi-step mashing.
There are 9 events in Minnesota registered with the AHA (http://www.
The AHA always suggests a few recipes for big brew. Obviously you can brew ANYTHING you want for that day. The recipes are provided here @ http://www.
I encourage you to seek out one of these events. Especially if you are interested in taking up a wonderful hobby such as homebrewing. I hear that the weather will also be very nice in coming days! Hey, who doesn’t want to be outside in May. I will have my brewing equipment. Stop out to Lucid (don’t forget to register) and say hi. There will be representatives from a few local Clubs including Minnesota Home Brewers Association and Primary Fermenters. Cheers and happy fermenting!
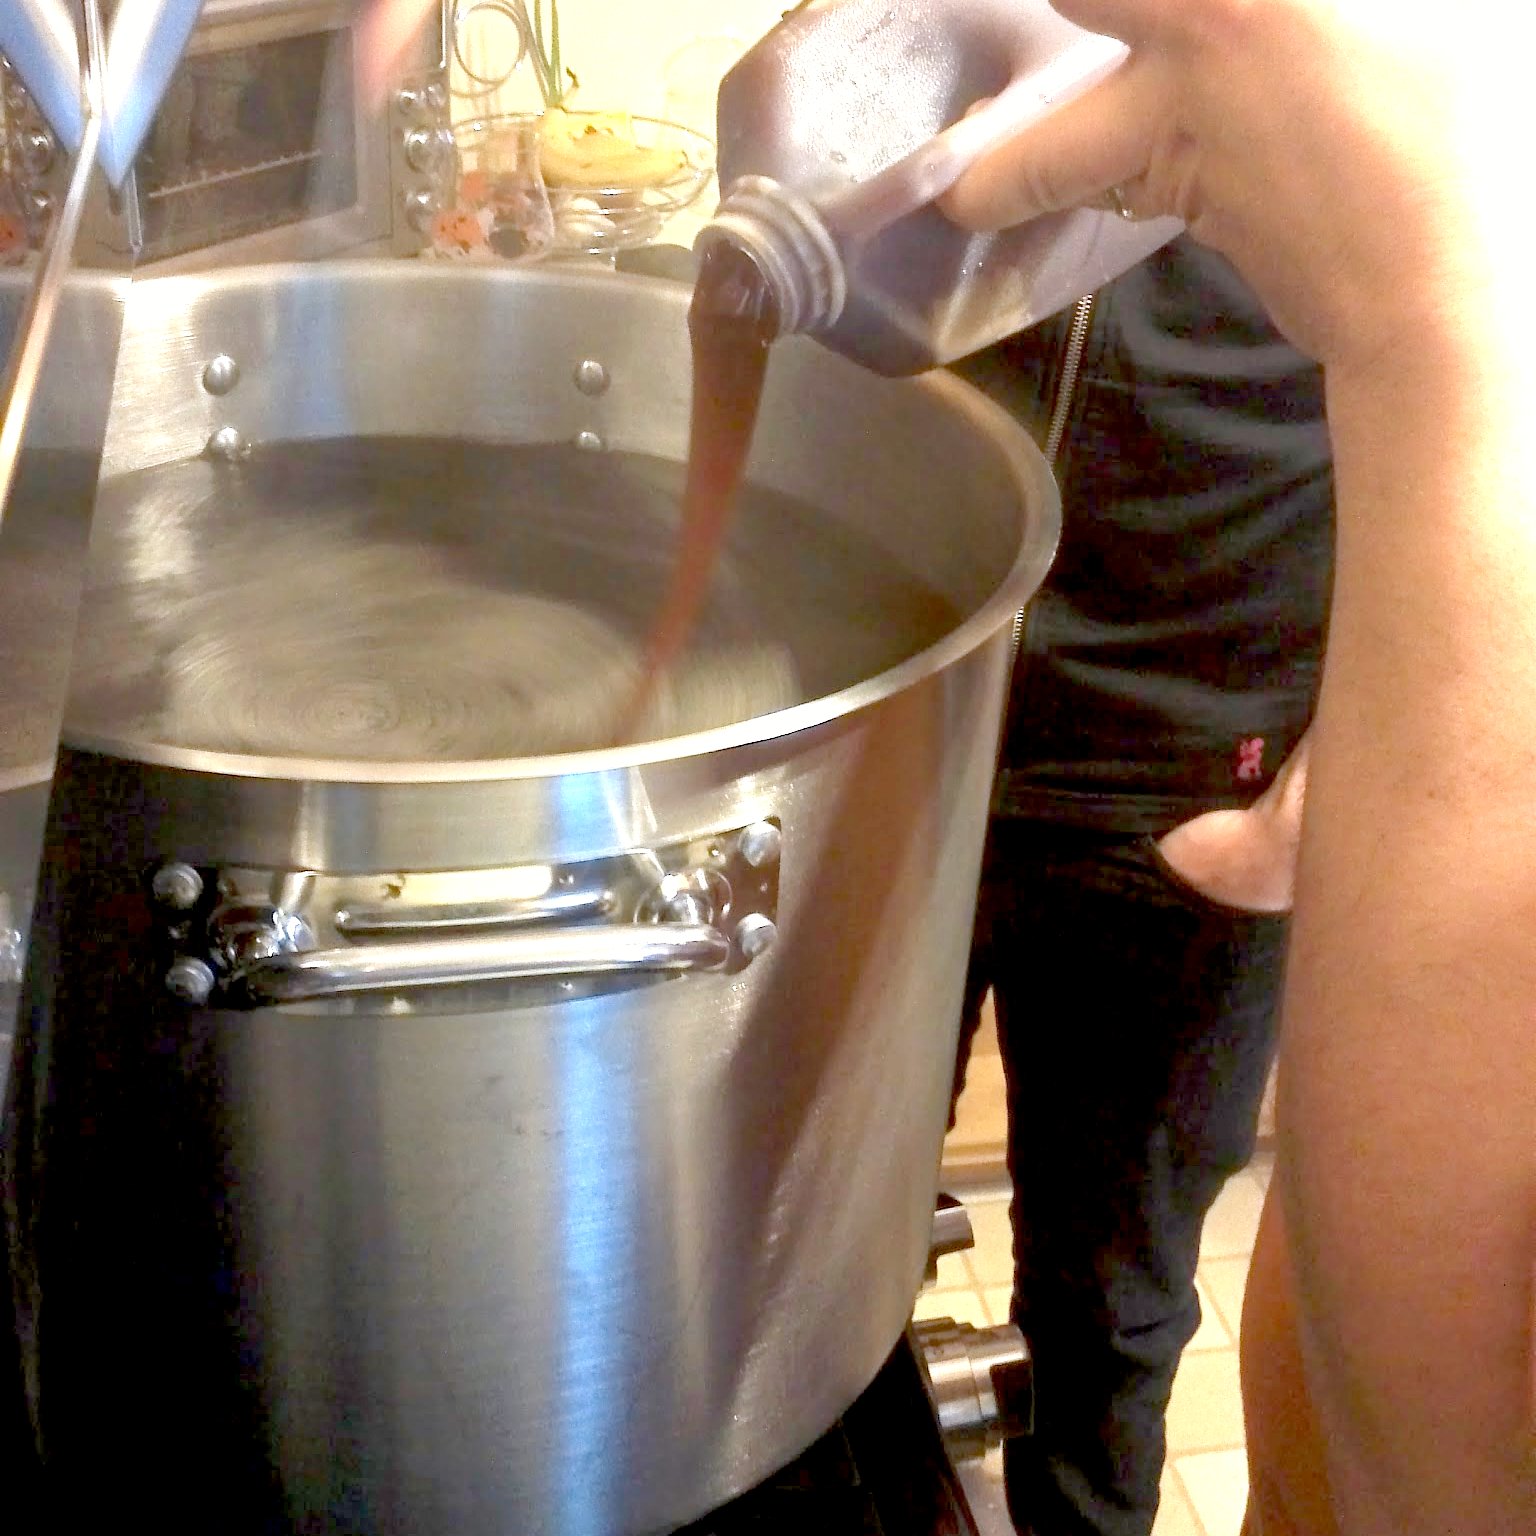


 From this point you can add any additions of hops, extract or sugars. I personally have a boil bag device for pellet hops. Helps to keep 95% of the hop chunks out of my beer. Cheap and easy to make, but not required.


